€ 0,00
10 crochet tips for amigurumi
Are you done with all the blankets, handbags, and such? Start creating Amigurumi instead! Today I share some tips with you on how to crochet the perfect amigurumi. Because nothing is harder, believe me, than to crochet the perfect amigurumi. So keep reading, here we go!
If you are wondering ‘what the * is an amigurumi?’, let me explain. The word Amigurumi comes from Japan and means:
Amigurumi is the Japanese art of knitting or crocheting small, stuffed yarn creatures. The word is a compound of the Japanese words ami, meaning “crocheted or knitted”, and kurumi, literally “wrapping”, as in nuigurumi “(sewn) stuffed doll”.
So, Ami + nuigurumi = Amigurumi; stuffed doll (or animal). Amigurumi is hot and happening at the moment, everybody creates them. The other fun Japanese style is Kawaii. Kawaii are daily objects made cute. Like a plant with eyes or a basket with a smile. Milk carton with a funny face and so on. I will write a post on that subject later on. Today I share crochet tips for amigurumi.
Tip 1: Yarn and hooks
For creating amigurumi you can use any kind of yarn and hook. The most common yarns used for amigurumi are cotton yarns and small hooks. Like yarn from Hobbii Rainbow Cotton 8/4 with a hook size not bigger than 2.5mm. Most amigurumi are crocheted with a hook size of 2mm or even smaller. I use a hook size of 2mm up to 2.5mm depending on what I want the size outcome to be. The smaller the hook, the tighter and smaller the finished project will be.
Tip 2: Yarn over or Yarn under?
Amigurumi are known for their compact form and funny details. Most designers and crocheters are crocheting amigurumi with the Yarn Under technique. Why? It is more compact, and the stuffing doesn’t peak through. The yarn is more pressed against each other, which is good if you create kids’ toys and stuffed animals. It also gives the animal or doll a luxury feel because of the ‘little x’ that is formed with every stitch.
Also using Yarn Under instead of Yarn Over reduces the height and weight of the finished project. As a sample; I crocheted the same doll but the first time using yarn under and the second time yarn over. The second doll was 5cm taller than the first one. Same pattern, the same hook size, and the same yarn. Only the technique was different.
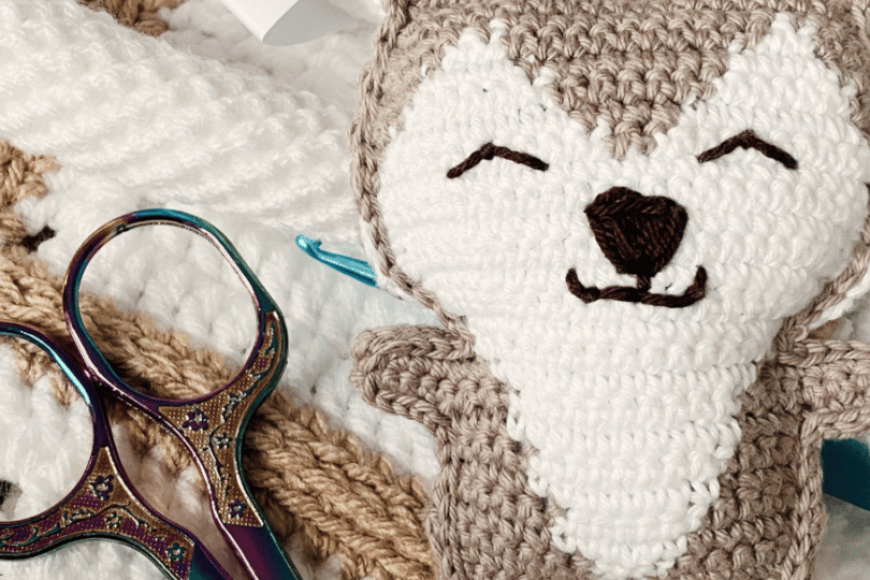
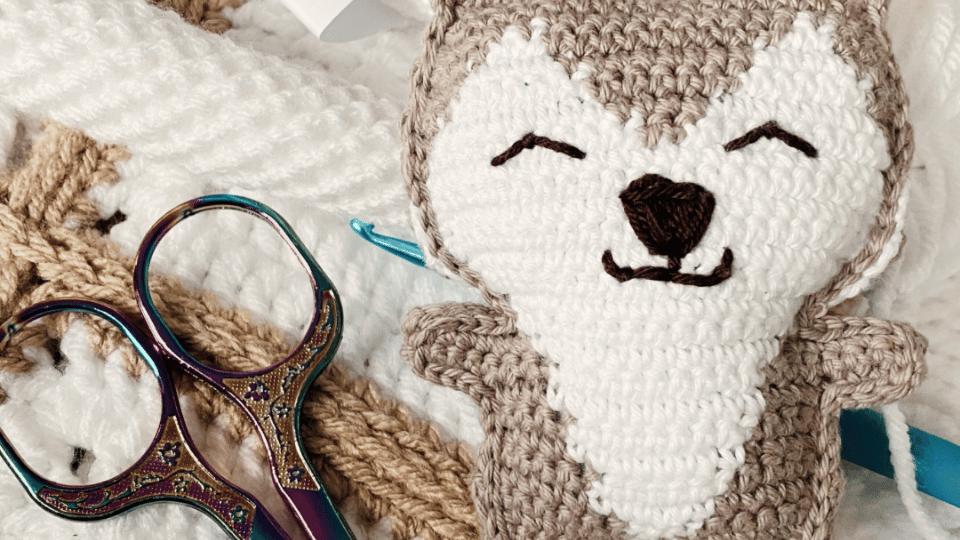
Tip 3: Safety eyes or embroidery?
Depending on what you are crocheting AND if you are going to sell the finished project, this is something to consider well. For childer toys under the age of 3, I would recommend you embroider the eyes on the finished item. Safety eyes are safe, but depending on how you place them and if this is the correct way. If you want to be sure, just embroider the eyes or crochet some eyes you can sew on. Always put safety first on your projects and finished items.
Tip 4: Different yarn; different look
Created a finished item, try creating it again but with a different kind of yarn and hook size. You’ll be amazed by the difference and I mean in a good way! Make from a cotton bumble bee a big brother with fluffy yarn like velvet with a hook size of 5mm. Same bumble bee; different outcome. This makes amigurumi so amazing. With just one pattern you can create endless possibilities to discover.
Tip 5: Don’t overstuff it
Don’t overstuff your work as it might come through the stitches. You want to stuff your project just enough that the shape will stay. If you overstuff it, your doll or animal might become a little wacko. Stuff the item until you can’t press holes from the outside in and the hole will stay there. Then you have filled it enough that the crochet work will hold its shape.
Tip 6: The perfect ‘ball’
Have you ever noticed that if you increase in the same spot every time, you won’t get a round shape in the end? You get like a beach ball with lines where the increases are. To avoid this, do the following: start like you always do with a magic ring and increase until you reach round 4. Instead of doing: 2sc, inc. x 6, do this: 1sc, inc, 2sc, inc all the way and end with 1sc to finish the row. Row 5 is normal, row 6: 2sc, inc, (4sc, inc)x5, 2sc. To place the increase on a different spot in the row, you won’t get that stupid line across your work.
Do the same when decreasing your work over several rows. Place the decrease stitch opposite from the last row and the stripe will never show.
Tip 7: Hidden decreases
The regular decrease is by placing your hook through both loops to make 1 stitch. If you pull too tight, you get holes in your project. Stop doing that! Instead, only use the front loops to create a single crochet while decreasing. The back loops will provide a ‘cover-up’ so no holes will show in your work. This way the decrease is kind of hidden in your work.
Tip 8: No sewing arms and legs
I hate sewing stuff on Amigurumi’s. I admitted it, there haha. So what do you do? For sample; create the arms first and while making the stitches on the body, place the arms directly. No sewing! For the hair: create a hair cap by only using back loops. When done, create the hair strings in de open front loops. No sewing! Legs; the first leg you fasten off, the second leg gets connected with chains to the first leg. No sewing! Just try it, saves time and frustration 😉
Tip 9: Weave in ends as you go
If you are working in the round, you can leave the ends inside the amigurumi. But what if you are creating something flat? Weaving in ends as you go is a good option. Just create your stitches like regular, but take the color with you for a couple of stitches. Cut the end and you are done. Saves time and frustration, because honestly, nobody likes weaving in ends!
Tip 10:Measure, measure, and measure
Working on an amigurumi or doll with separate clothes or items? Measure as you go! Why? Nothing is more frustrating than creating a shirt for a doll that doesn’t fit in the end! So measure in between rows if you are still on the right track. Always use a hook size bigger than the finished base project of the doll, animal, and so on. Especially with creating sleeves, pants, jackets, and more, you want them to fit the doll.
Hopefully, these tips will keep you going while creating sweet amigurumi. If you are looking for a kickstart, check out the Doll Value Packages. This will give you a head start in creating dolls and other amigurumi’s. Questions? Let me know in the comments. Here to help 🙂